A new feature for MathCompiler3D - V1.1.969
When your working with a single 3D object, rotation is easy. Apply 0 to 359 degrees on a specific or multiple Axis - X, Y, or Z and your object rotates. When you are working with a set of objects like the components to make a workbench, things become a little more difficult. Coming in MathCompiler3D version 1.1.969 - the ability to categorize 3D objects in a hierarchy and apply a rotation also on a specific axis or on multiple axis - X, Y, or Z will be available. This means you can rotate an entire piece of furniture based on the level of hierarchy you choose to apply the rotation.
Rotations
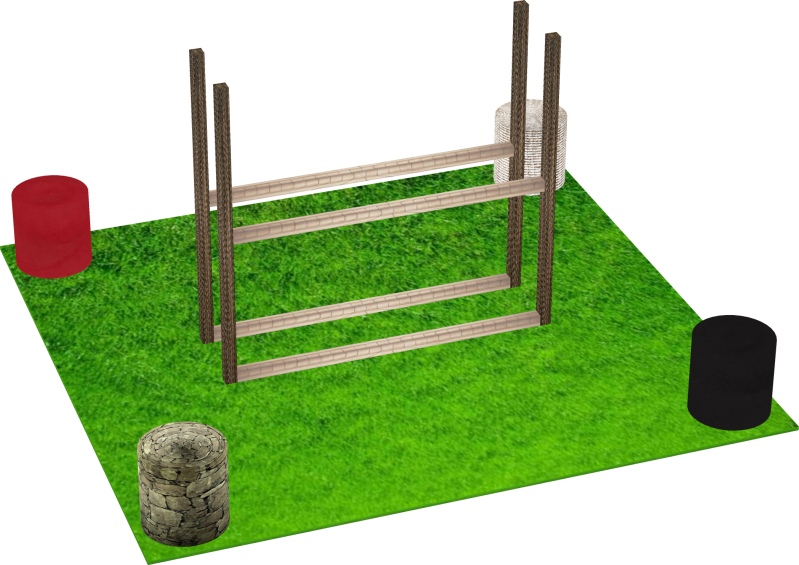
Shown below is the create z axis rotation starting at a position of 0 degrees. #2 at 22.5, #3 at 45 and #4 at 123.75 degrees. With this functionality you no longer need to create multiple versions of the same object - but instead, create it as a hierarchy.
Rotate Z = 0
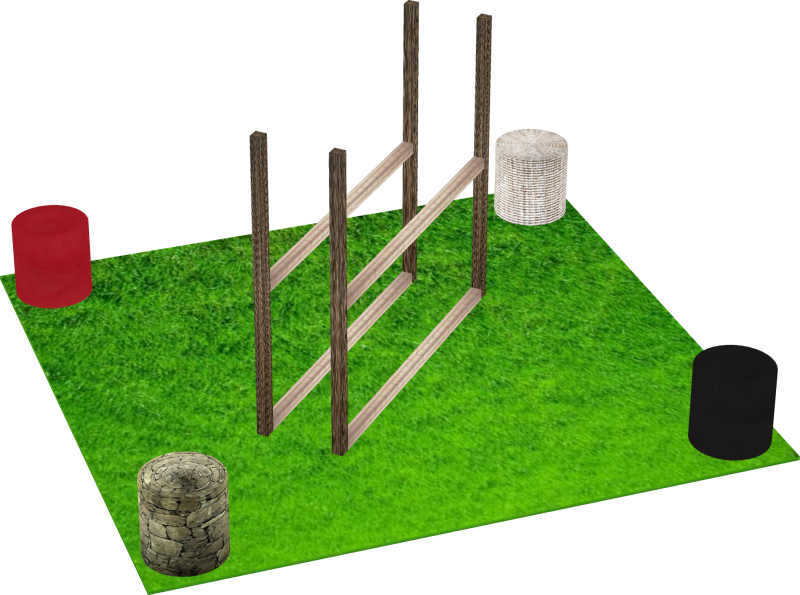
Rotate Z = 22.5
Rotate Z = 45
Rotate Z = 123.75


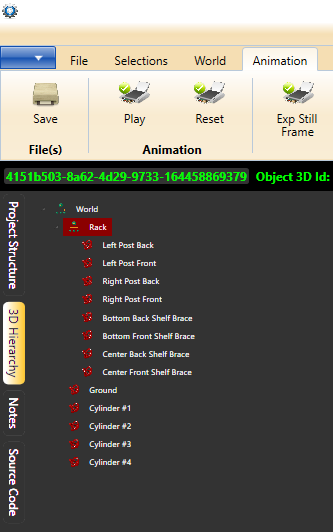
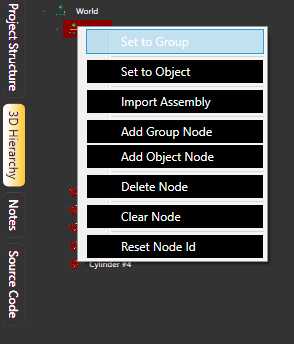
On the left, with the 3D Hierarchy Tab selected, you can see the hierarchical layout of the 3D world.
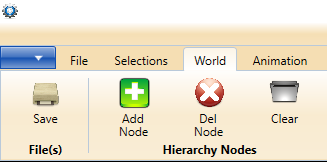
On the World ribbon tab you use the hierarchy nodes group to add an remove 3D objects.
Here you can see the selected hierarchy node property values.
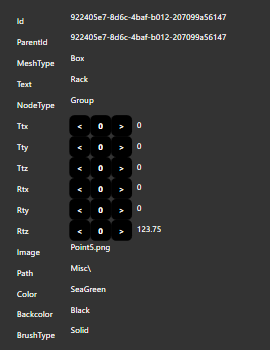
To rotate an assembly - you must specify the node as a group. Right click on the icon to use the set to group function.
MathCompiler3D - V1.1.970
In MathCompiler3D - V1.1.970 it is much easy to drag and drop on the treeview for the hierarchy rendering mode. This means that you can easily group your assemblies to keep track of your 3D objects in your 3D model. In version V1-0-1 of the hierarchy test project, the Rack group now has Posts, Bottom Shelf, Center Shelf, and Center Shelf braces as sub assemblies. Yet, when you perform rotation at the Rack group level, on the Z Axis, your entire rack structure still spins.
